Affects Version/s: 8.x, 9.x
neoStampa supports Device Inks color substitution from Adobe® Illustrator® PDF or AI files using named Spot Colors. This section describes how to create Spot Colors in PDF or AI files from Illustrator and print them with neoStampa using Device Inks.
Create and name Spot Color in Illustrator®
- Double click a color you want to substitute later.
- Set a name for the color, that will be the way to identify it in neoStampa and as Color Type select Spot Color.
- You can also select a color, that will be a preview color on Illustrator®. Remember the color will finally be substituted to the Device Ink you decide later on neoStampa.

Configure neoStampa's scheme for using Device Inks
- Open the Printer scheme manager by clicking the button with the three dots between the scheme selector and the Print button.
- Select the desired profile from the dropdown list, and navigate to the PDF/Postcript options panel.
- Check the PDF / PostScript rendering option select button and get sure the following options are selected:
- Colorspace: Output DeviceN with Ink Limit control (required)
- Antialiasing
- High precision
- Click on Save to activate the options.

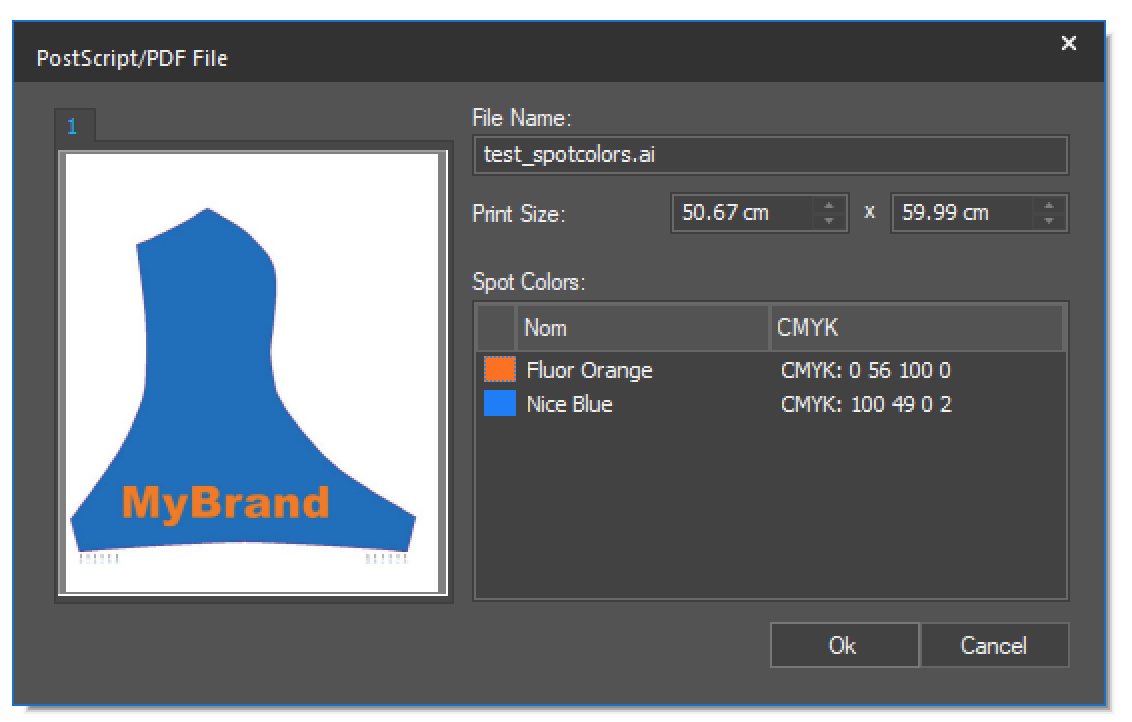
Load PDF/AI file with spot colors in neoStampa
1. Open the PDF/AI file with neoStampa, a small window will pop on the screen detecting the Illustrator Spot Colors.
2. To make changes in device inks, go to Color Replacement from Control Center and double click on the color you want to set the Spot Color from the Color Replacement list.
3. In the Special color configuration dialog, select the device color's component inks setup. Finally type your desired device inks values, click OK to finish the spot color configuration.

4. On the Color Replacement list, a printer icon will appear infront of the spot colors that have device inks set up already.
5. Once the desired colors are configured you are ready to print.

▶️ Watch video
